1. Know frame rates & time codes when importing movies
The general knowledge of this concept varies in the world of independent music and filmmaking, but professional composers and filmmakers are incredibly aware of SMPTE and how the music should fit together in-sync. Since this is a complex topic, I won’t go into too much detail here, but check out this quick video on SMPTE time codes that should help explain this concept more.
2. Use buses for reverb & effects to save CPU
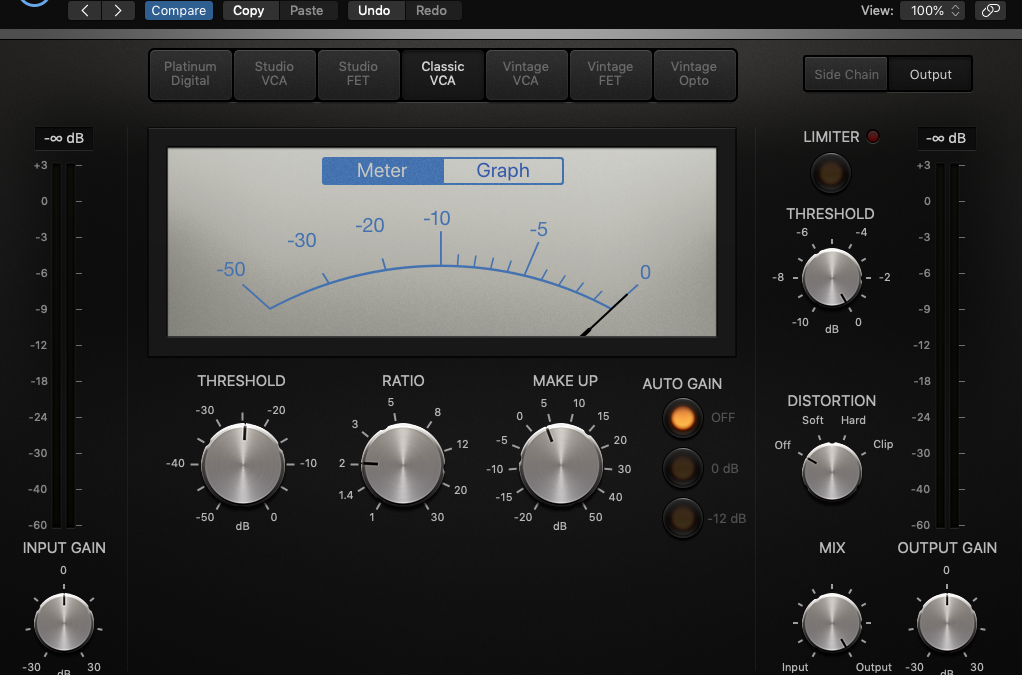
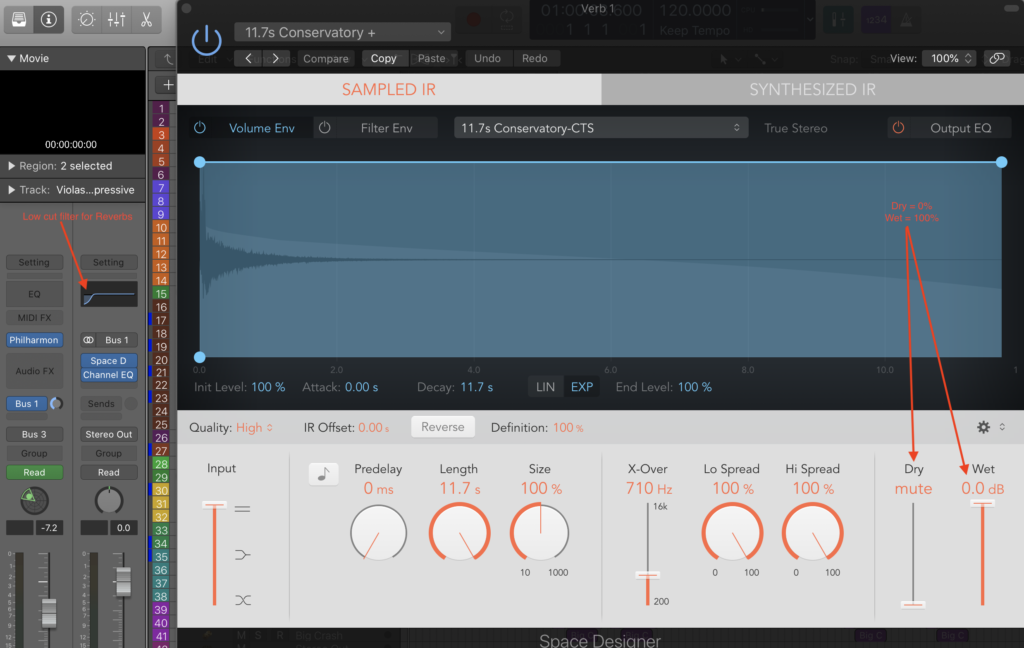
The first mistake many people make when making music in a DAW is to not utilize “buses and sends” to route reverb and effects through. There are a few ways to do this, but the simplest is to create an “Aux channel” within your Mixer window, then add a reverb to that channel (make sure the dry% is 0 and wet% is 100 in the reverb settings, and low-cut most all reverbs). Then you can create 100 tracks (more or less) and route every single one of those tracks to the same reverb bus. So rather than all 100 of your instrument tracks playing 100 reverbs (which is a nightmare for your CPU), you have 100 instrument tracks playing 1 reverb at the same time.
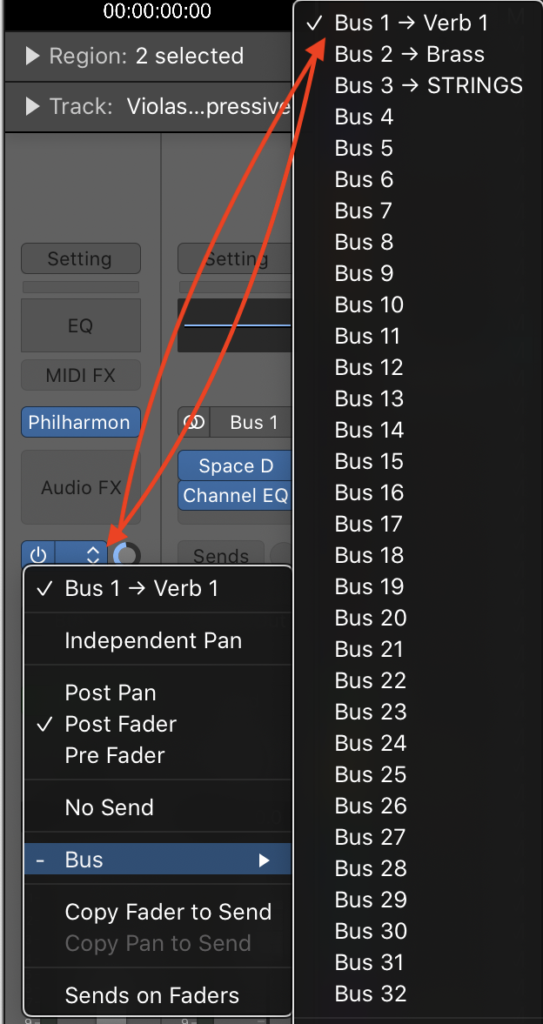
Once you understand this concept, you can create multiple reverb Aux channels with different types of reverbs on each one, so if you want a reverb with a lot of distance and tail, you can put that on it’s own Aux channel and just use that on instruments that need a big ambient reverb, for example. Once everything is set up, adjust the amount of reverb by tweaking the “Bus 1” This is the most important tip in regards to CPU efficiency.
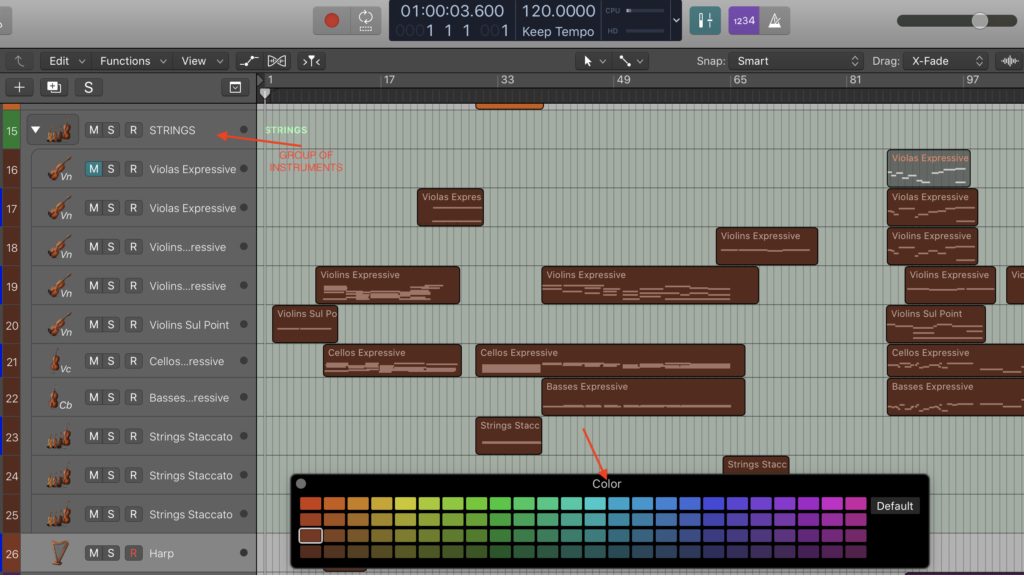
3. Customize track colors, icons and instrument groups
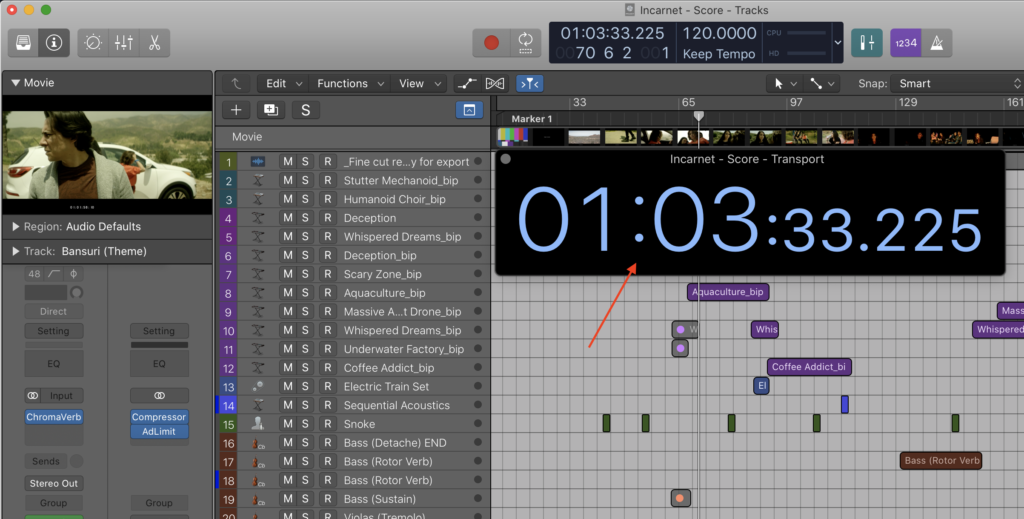
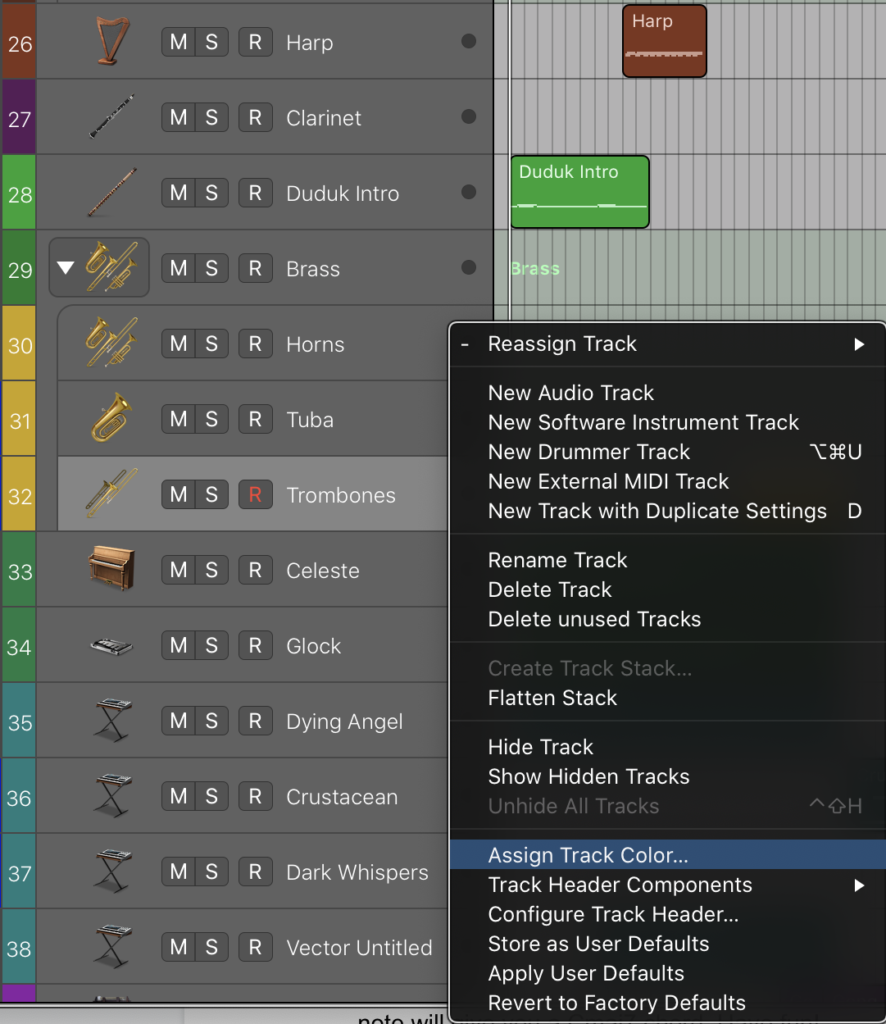
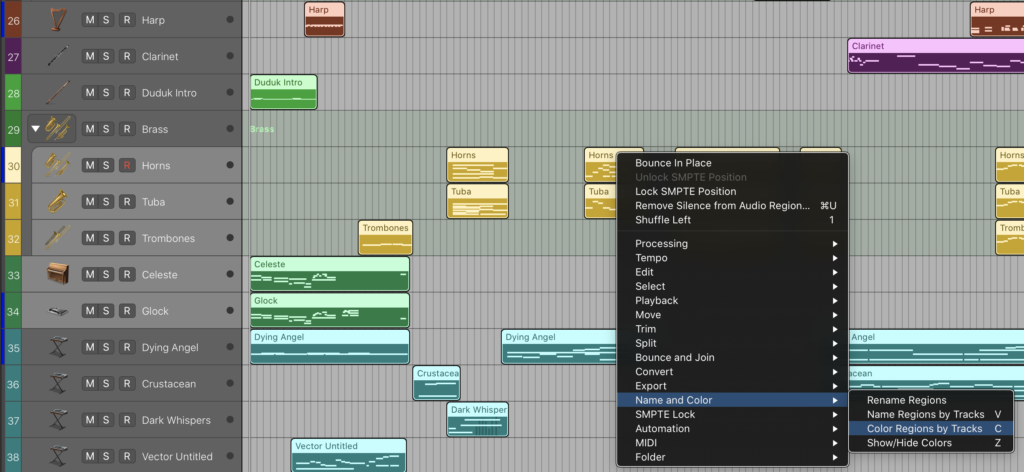
Now this is for those with a bit of OCD but also wants to make their projects look more fun. Adding color to each instrument or group of instruments makes things not only more fun to look at, but also helps your brain understand the structure of your project more and spend less time trying to find particular parts when there are a lot of tracks. To do this, right click on any single track or select multiple tracks and click “Assign Track Color”, and after you’ve colored all your tracks to your liking, “select all” and right click any MIDI or audio region and select “Color Regions by Tracks” to color everything to match your track bar colors.
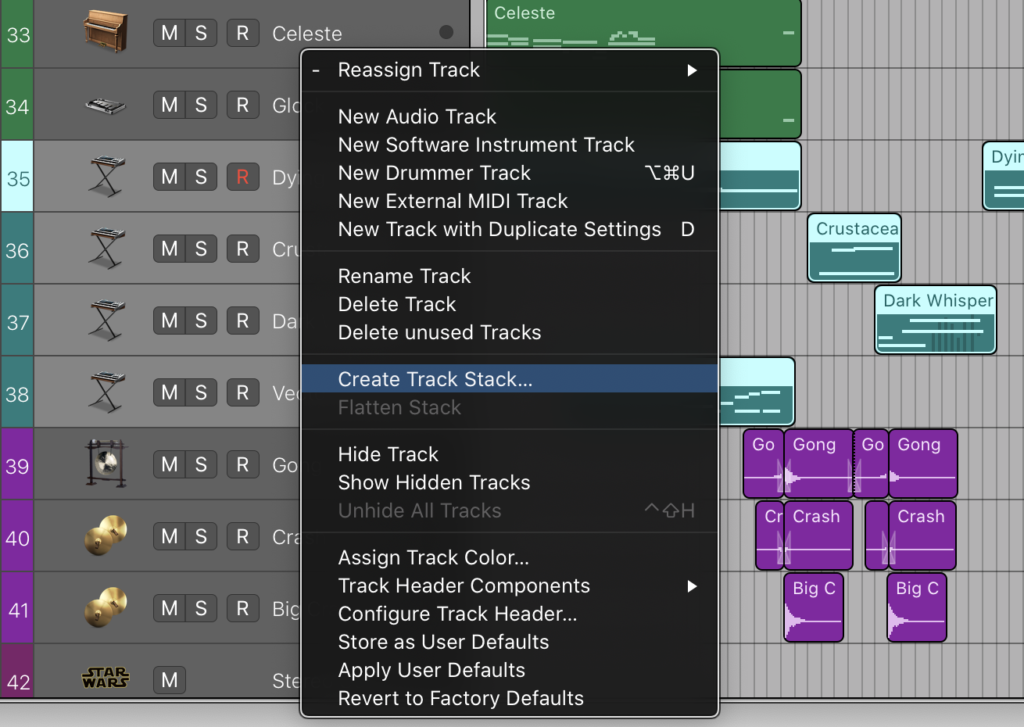
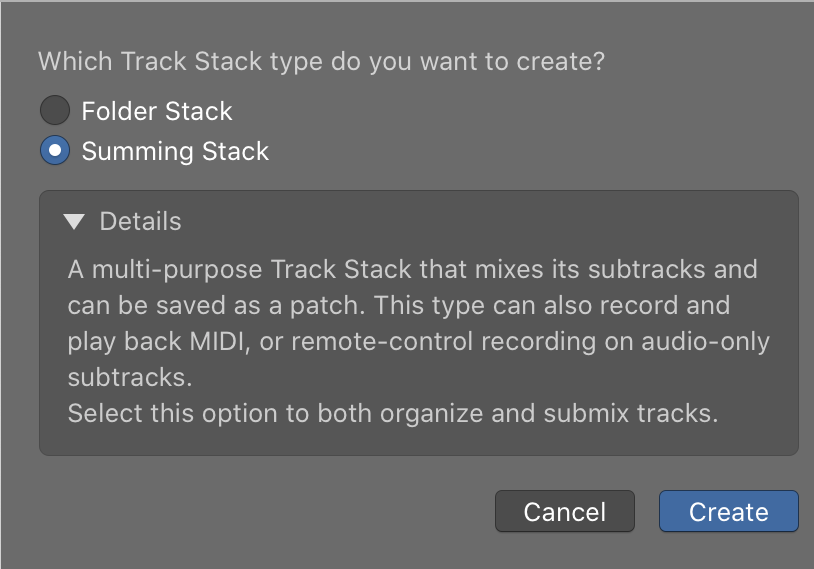
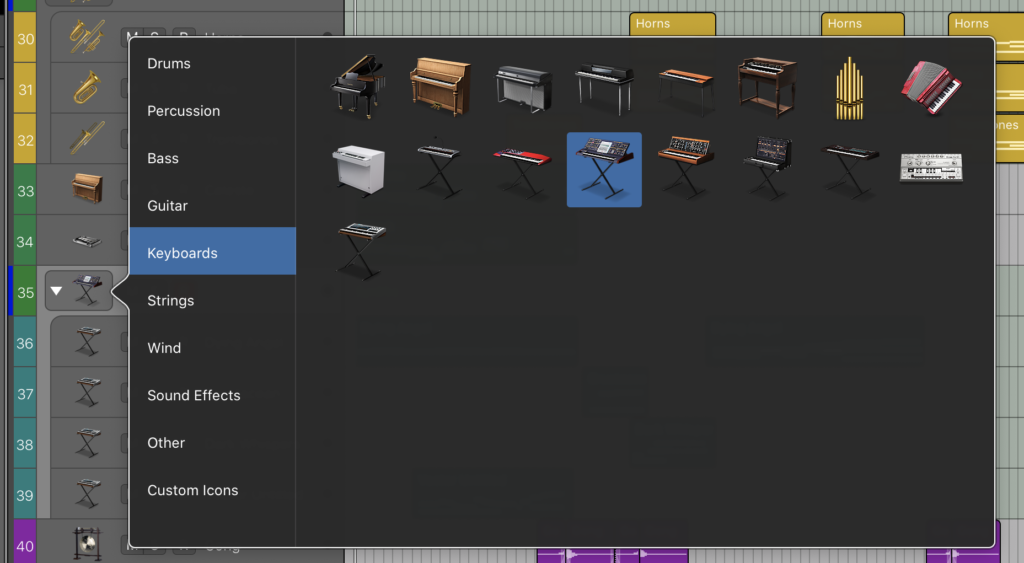
You can alternatively color the regions different than the track bars. Grouping instrument sections helps to not only add processing to entire sections at once, but also allows you to get more micro-organized and collapse your project when needed. Always use “Summing”, as this gives you much more flexibility and capabilities. After you’ve created your stack, customize it by renaming the track, then right clicking on the “icon” to change the picture (fun fact: you can upload your own PNG images so don’t feel limited by Logic’s picture library. My favorite part of working in Logic is honestly changing these little icons, so enjoy that!
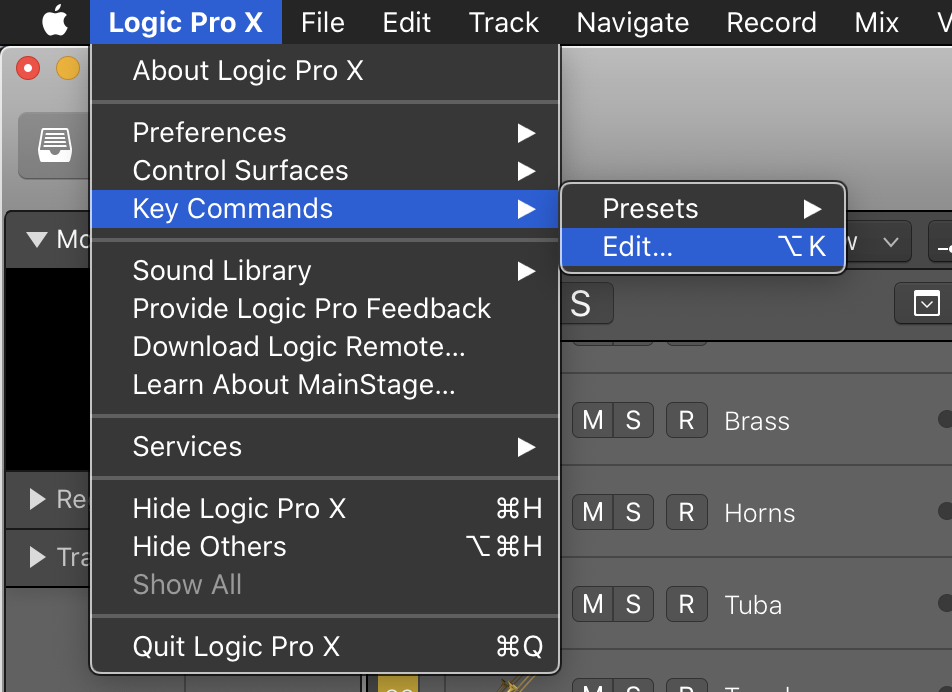
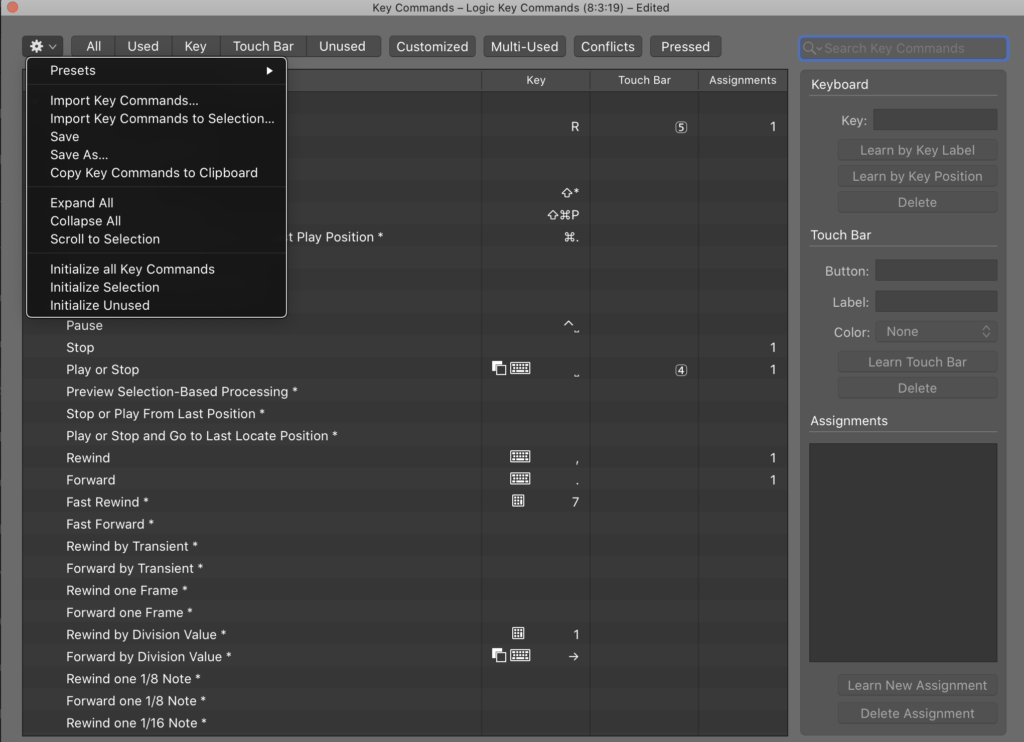
4. Create & save key commands
Key commands are incredibly important and you can set them all up at once. I suggest watching a few tutorials on “key commands in Logic Pro X” and once you feel confident in your key commands you’ve set, SAVE this. It’s very helpful if you ever need to use Logic on someone else’s computer and all of a sudden you’re driving blind and need your key commands imported to their Logic (As long as their updated key commands are saved, you’re safe to import yours without affecting their previous key commands). It’s also useful if you have multiple computers using Logic in your studio. Despite the heavy initial time investment, key commands save LOADS of time in the long run, plus less frustration and stress. Go set your key commands!
Tip #5 – Occasionally “Clean Up” your project to keep your project file size

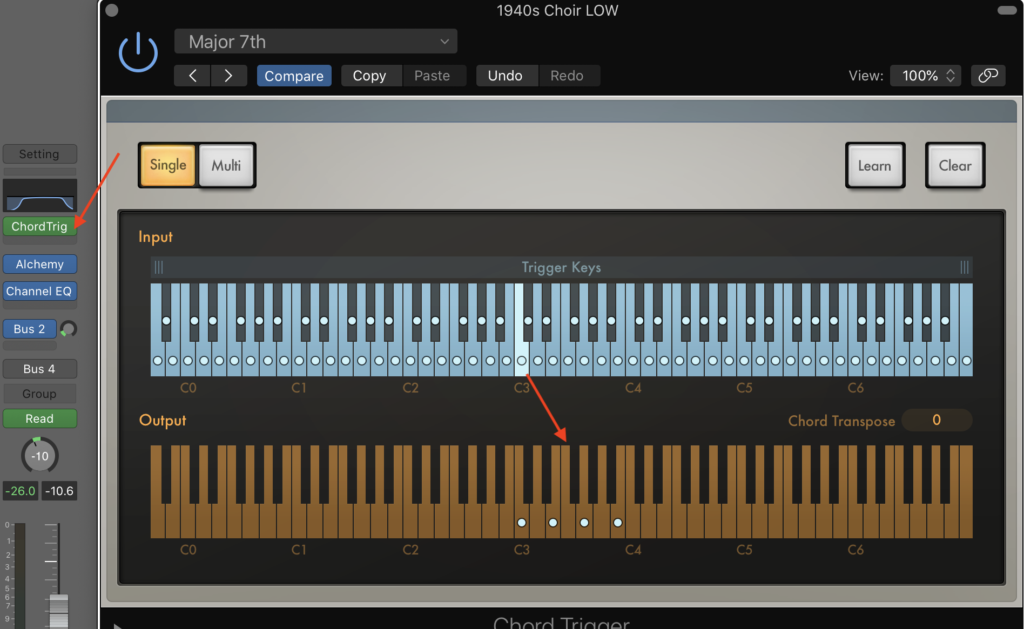
Tip #6 – Take advantage of “Chord Trigger” to speed up composition
Are you in the process of learning composition or never plan on learning it? “Chord Trigger” is for you! Slap this awesome Logic plug-in to your MIDI-FX location and with each single note, you can trigger a plethora of chords & variations. As you can see in this example, selecting the “Major 7th” and hitting a C note will give you a Cmaj7 chord. Have fun!
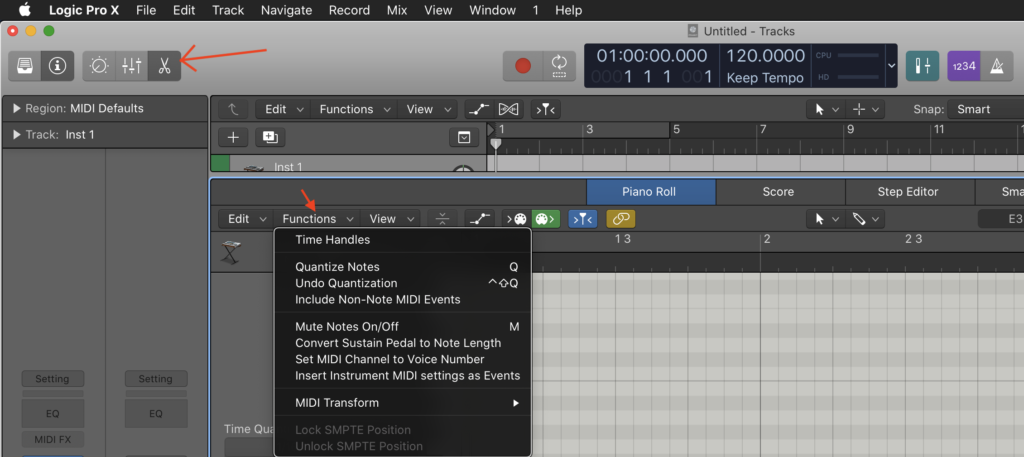
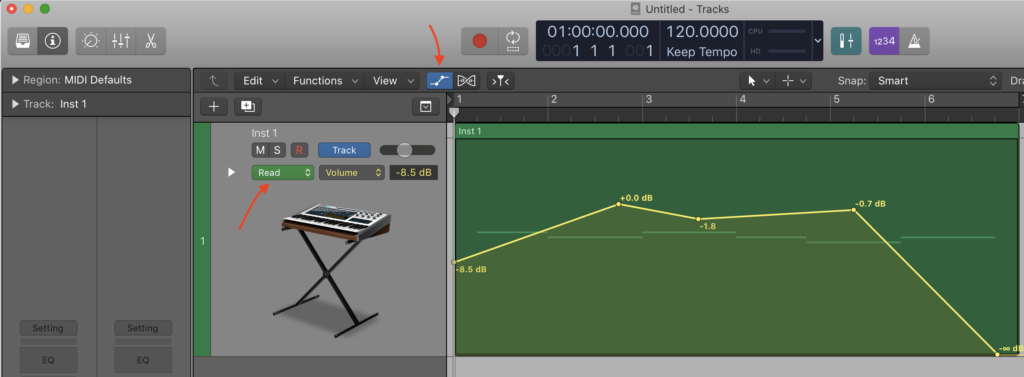
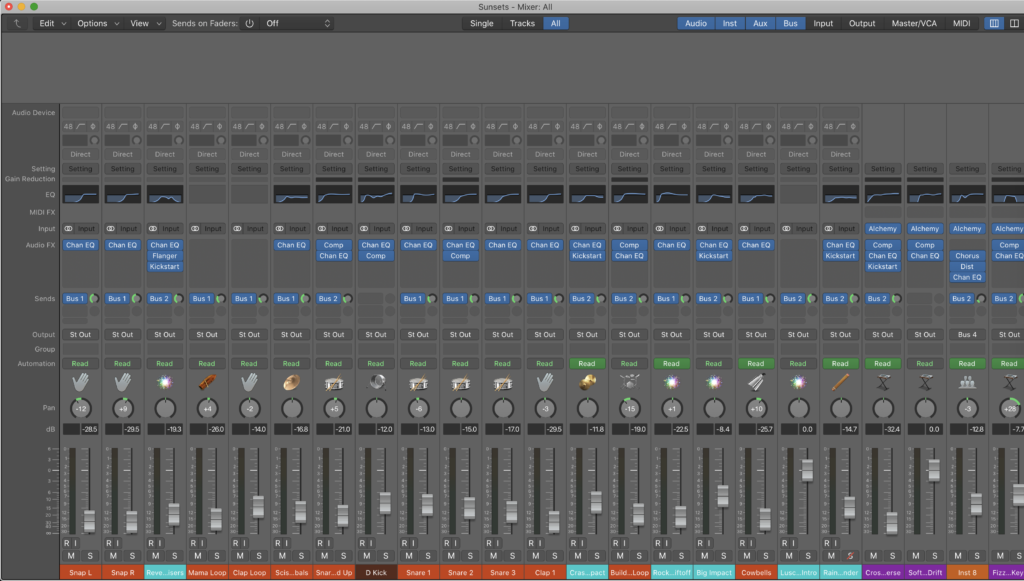
Tip #7 – Familiarize yourself with the Piano Roll, Automation, and Mixer windows
These three windows are the most commonly used areas for most projects. Piano Roll is where you’ll edit all of your MIDI data, and there are many features just within this window to help your MIDI work for you, rather than the other way around. Automation isn’t as much a window as it is an “expansion” of each of your tracks to give more expression and improve your mix. Click on the automation button and make sure your track is “read” enabled. If “read” is disabled, you won’t be able to adjust the automation. The mixer window can be incredibly helpful when you’re in the process of mixing an entire song or section at once and need to see the mixing and monitoring tools all at once.
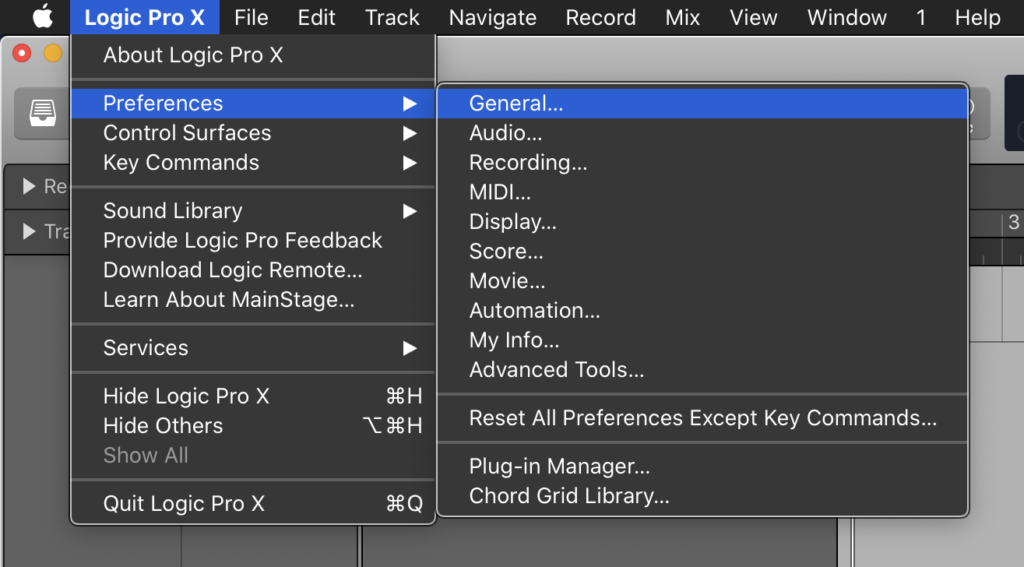
Tip #8 – Make necessary changes in “preferences” to increase CPU/HD efficiency
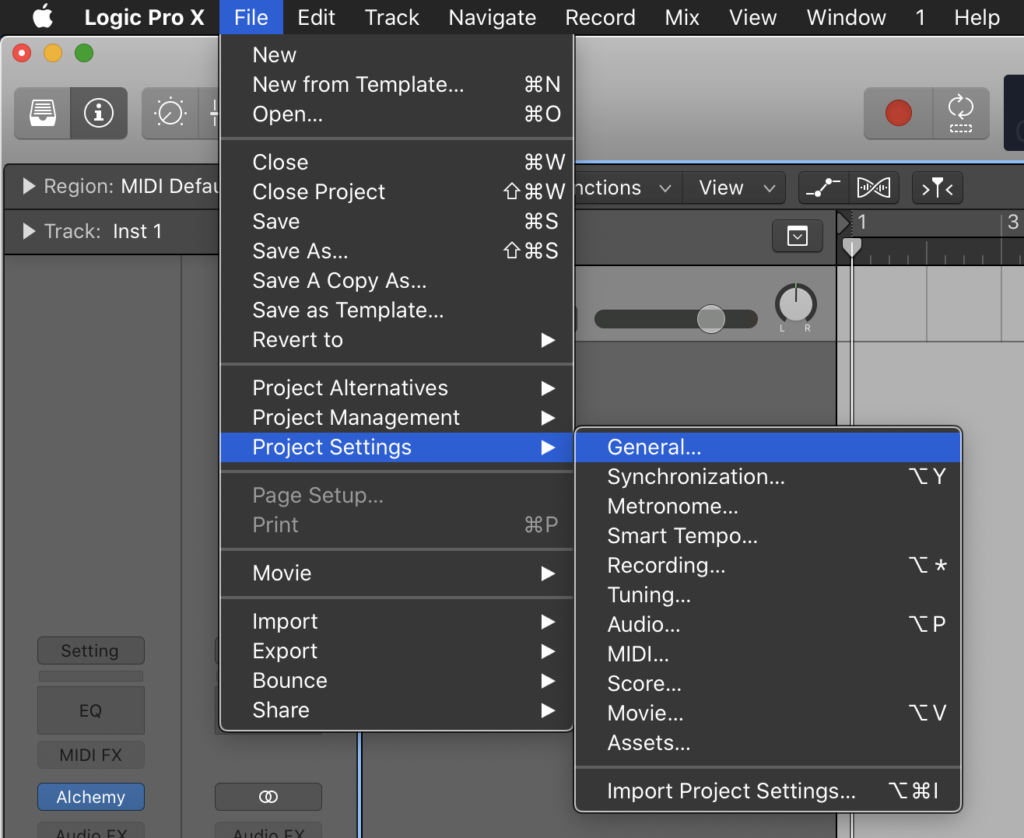
While there may be a lot of options within the preferences pane, it would be very helpful to make some customizable changes to some of these options from the get-go. If you know what your basic setup is and want to create a set of preferences based on that, I recommend checking out this video to understand which settings to adjust to increase the efficiency of your CPU/HD within Logic. There are also other aesthetic changes you can make such as how the background looks, and much more! Also remember to check the “Project Settings > General”, as these are the settings that apply to a specific project, rather than changing general settings for Logic that will apply to every single project, which is “Preferences > General”. This may take some trial and error, but over time, you’ll understand what should be enabled or disabled in your preferences.
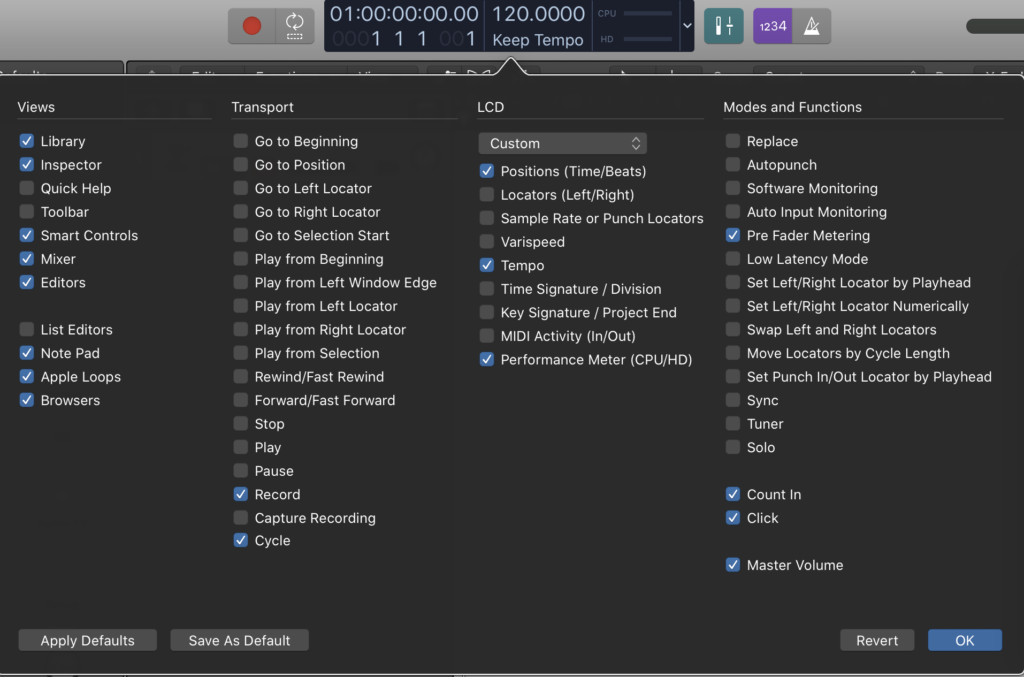
Tip #9 – Customize your Control Bar & Display to fit what you use most
Right click in the gray area next to the Display on the top of the screen, then customize this area to focus only on the functions you actually use. A lot of times, seeing too much on the screen at once can lead to not only momentary confusion, but clutter on the screen. The goal is to customize your Logic Pro X to look and feel the way that leads to a focused writing session. Try to avoid being overwhelmed by the amount of buttons and displays are available by reducing these to only what you need. You can see which ones I’ve selected and feel free to experiment with what works best for you!
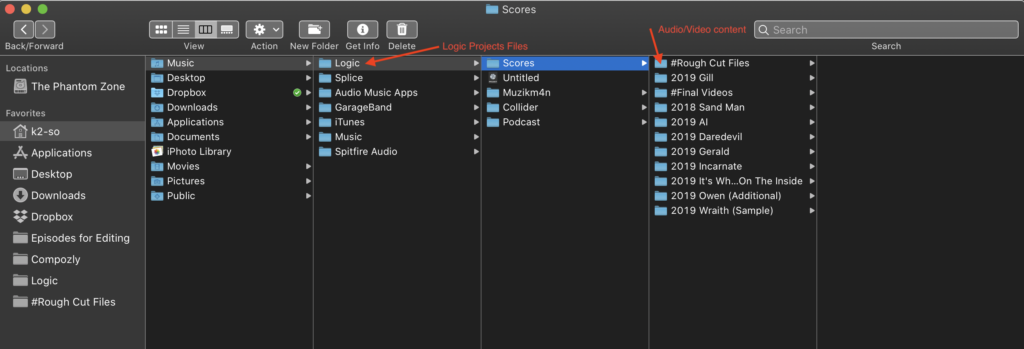
Tip #10 – Create a “Logic Content” folder on your computer to keep files organized
Simply creating a couple of new folders will help keep all your Logic projects and audio/video content organized, preventing that annoying prompt saying “audio/video content is missing”. Essentially, the goal is to create a folder to store every single Logic project you create, plus a folder that stores any downloaded audio or video content such as audio that needs mixing or a video reference mp4/mov. These files will automatically integrate itself into the Logic project package, however, having a consistent location for these files makes it load quicker & prevents any chance of lost content for your projects.

Get your FREE copy of "The Essential Guide to Film Music Collaboration" to help create better music for your film and video projects.
About the Author

Adam Robert Galloway
Film Composer
Adam is a content creator for Compozly and a fellow music composer. He has been scoring films since 2012 and releasing original & cover songs as Muzikm4n since 2017. Despite no formal training in composition, Adam has spent many years learning how to produce and compose music that provides filmmakers with effective and unique scores.
© 2025 Compozly, LLC ALL RIGHTS RESERVED